Are you tired of renaming registry keys the long way? Are you tired of clicking through menus and hunting for the right option? Well, then this blog post is for you! We will be walking through how to rename a registry key using VBScript. This is a quick and easy way to get the job done, and it can be helpful when you need to make changes to multiple keys at once. Let’s get started!
What Is a Registry Key and Why Would You Want To Rename It
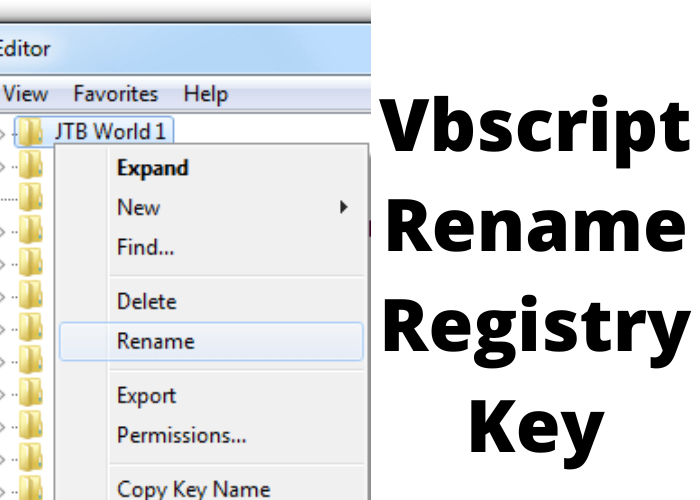
Windows Registry is a database that stores settings and option of Microsoft Windows. For example, when you install a new program, a new registry key is created for it. If you uninstall the program, the registry key is deleted. However, sometimes programs don’t uninstall cleanly, and they leave behind orphaned keys. These keys can cause problems because they still take up space in the registry and can conflict with other programs. Renaming a registry key is a way to delete it without causing any damage to the operating system. To do this, you need to open the Registry Editor and find the key that you want to rename. Right-click on the key and select “Rename.” Type in a new name for the key and hit Enter. The key will be renamed and will no longer cause any problems.
How To Rename a Registry Key Using Vbscript
You may need to rename a registry key for various reasons. For example, you may have malware that has created a registry key with a random string of characters, or you may simply want to change the name of a key for organizational purposes. Whatever the reason, renaming a registry key using vbscript is a relatively simple process. First, open the Windows Registry Editor by typing “regedit” into the Start menu. Then, locate the key that you want to rename and right-click on it. Select “Rename” from the drop-down menu and enter the new name for the key. Finally, click “OK” to save your changes. Keep in mind that renaming a registry key can potentially cause problems with your system, so be sure to back up your registry before making any changes.
Tips for Renaming a Registry Key Safely and Effectively
Sometimes it can be necessary to rename a registry key in Windows. For example, if you need to change the location of a key because you’re moving it to another location on your hard drive, or if you want to change the name of the key to something more descriptive. Whatever the reason, there are a few things you need to keep in mind when renaming a registry key. First, be absolutely sure that you have a backup of your registry before making any changes. Second, when changing the name of a key, be sure to use the same case as the original name. Otherwise, you may end up with two copies of the same key – one with the old name and one with the new name. Finally, when changing the location of a key, be sure to update any references to that key in your registry so that they point to the new location. By following these simple tips, you can safely and effectively rename registry keys in Windows.
Examples of How To Use a Renamed Registry Key
If you’re troubleshooting a Windows issue and you come across a registry key that’s been renamed, there’s no need to panic. Registry keys are often renamed by malware in an attempt to avoid detection, but you can use the following steps to restore the original key name and fix the issue. First, open the Registry Editor by pressing Windows+R, typing “regedit” into the Run dialog, and hitting Enter. Then, navigate to the key in question by expanding the folders in the left pane. Once you’ve found the key, right-click it and select “Rename.” Next, type the original name of the key and press Enter. Finally, reboot your computer and see if the issue has been resolved. If not, you may need to take additional steps, such as running a scan with antimalware software. However, simply renaming a registry key is often all it takes to fix a problem caused by malware.